

Never Make Bad Mac 'n' Cheese Again
Including my best mac 'n' cheese recipe

The platonic ideal mac ‘n’ cheese has long been the subject of heated debate. Everyone prefers one format over the others: creamy and cooked solely over the stovetop, baked with a breadcrumb topping, or structurally beefed up with some eggs whisked into the mixture. It can be a personal, emotionally charged topic. In many families, bringing an over-baked dish of the stuff to a potluck or Thanksgiving can ensure you never get asked to make it again.
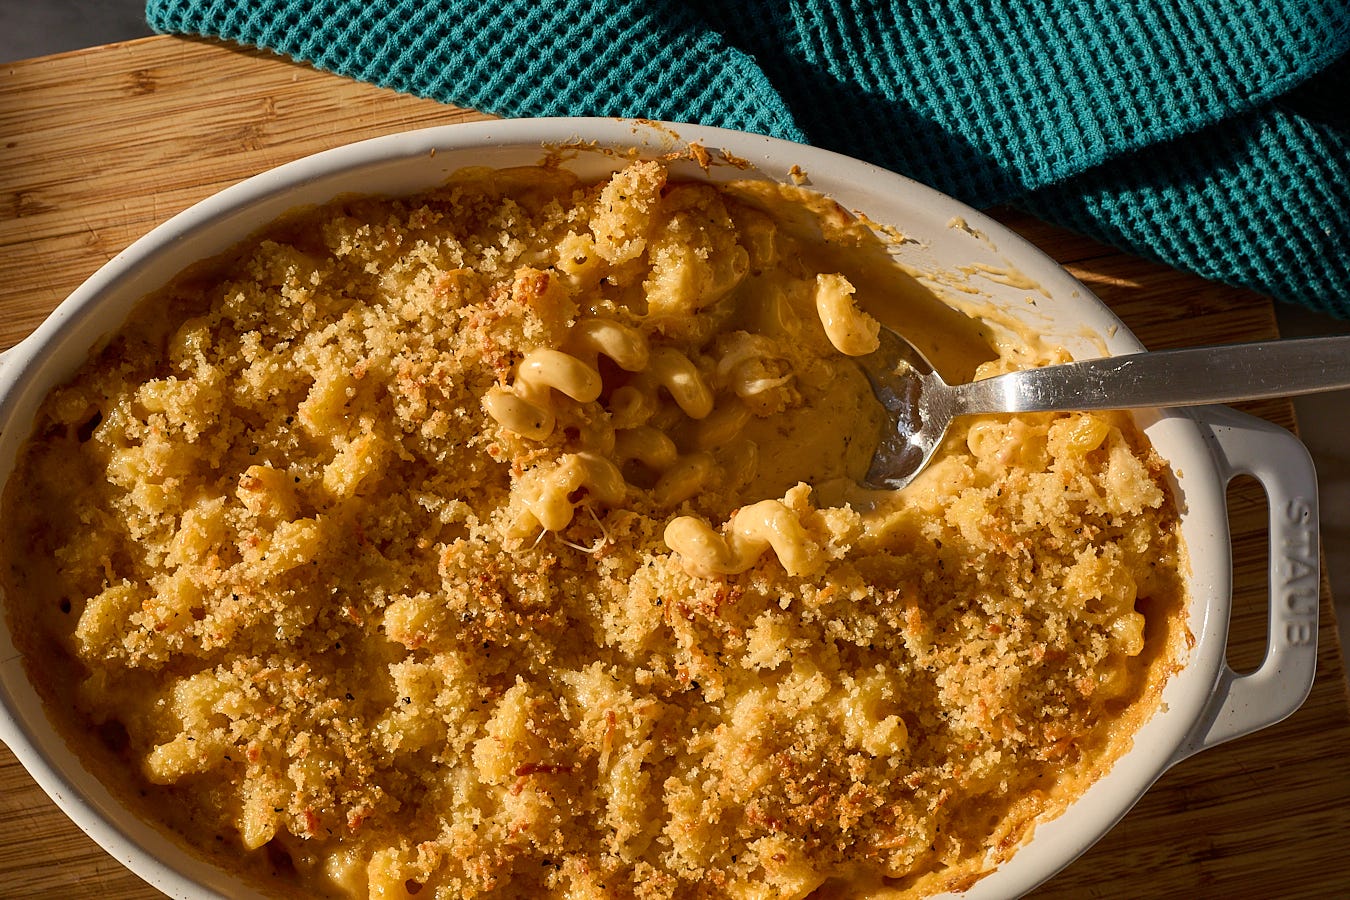
Sadly, many homemade macaroni and cheese recipes turn out soupy, gritty and split, or even worse — dry. A few years ago, I set out to make my dream version: bouncy, springy noodles, a creamy but flavorful cheese sauce, baked under a blanked of crusty cheesy breadcrumbs.
After publishing this recipe in 2023, making it for a few Thanksgivings, and re-testing it recently, I’ve some tweaks to it and re-pubbed it below. More importantly, I’ve also distilled all the best mac ‘n’ cheese intel I’ve learned in the process into the following tips.


1. Selecting Pasta Shapes (This Could Get Ugly.)
You already know which pasta shapes belong in mac ‘n’ cheese. Medium-length, tubed pasta works best. Obviously, regular elbow macaroni is classic, and at this point, is vintage enough to be cool again. I love using cavatappi. They’re like if elbows had like ten more elbows. One of my favorite macs in the world was at a now-closed Lubo House in Norfolk, VA. It was loaded with gorgonzola and used gemelli — an underrated shape in the mac world. A wildcard choice: radiatori!
Rotini and fusili are passable, but kind of on thin ice for me. For some reason, in my mind, penne and rigatoni just doesn’t belong with mac ‘n’ cheese. Long shapes like spaghetti — or short shapes like ditalini, farfalle or orecchhiete — are a no.
2. Be Choosy about Cheesy
Some cheeses are better for melting than others, and a big factor in meltability is age. Hard cheeses like parmesan are aged for a long time (more than a year) which reduces their moisture and changes their texture, leading to that crumbly, grit we know and love. As that happens, the flavor becomes deeper and more complex as enzymes and microbes develop and “help transform lactose into lactic acid and build other amino acids,” according Wisconsin Cheese.
Another byproduct of the aging process: gradually, some of the proteins in the cheese break down. This “matrix” of proteins is responsible for holding the oil in place, maintaining the emulsion. So when the cheese melts, the degraded matrix can’t hold onto as much oil, and the fat separates out. This is why the mouth feel of aged cheeses isn’t as creamy, and it’s also why hard cheeses don’t melt as well as soft cheeses. And the more separated oil that is introduced to your sauce, the thinner it will be.
On the other hand, soft and semi-soft cheeses such as some cheddars, American cheese, or fontina are usually only aged for a couple months. They have developed some flavor, but they haven’t lost as much moisture, they’ve maintained their protein structure, and they will still stay creamy when melted. You can use hard cheeses like parm and gruyere in mac ‘n’ cheese — they are absolute flavor bombs! But varieties like these shouldn’t make up the majority of cheese if you want a creamy sauce.
I give exact quantities for the types of cheese in my recipe, but use that more as a guide to adjust to your flavor preferences. I realize buying four or five different types of cheese is a lot of money; there’s no reason you couldn’t do this with 2 or 3 different cheeses in the sauce (for example, cheddar and American). You can also forgo the parm in the breadcrumb topping — or just top the mac with a layer of more cheddar. I recommend having a good balance of cheeses — soft, semi-soft, semi-hard and hard — across different components of mac ‘n’ cheese. Here is a non-exhaustive list:
For the sauce:
Fontina: earthy, grassy, melty
Cheddar: a good balance of solid, sharp flavor as well as a creamy texture. It’s why it’s a classic for mac ‘n’ cheese!
American: mild, but ultimate meltability thanks to sodium citrate (see below)
Gorgonzola/Blue: pungent, soft, creamy, tangy
Gruyere: rich, nutty — great for flavor but doesn’t melt super well
For layering:
Gruyere: powerful flavor
Muenster: very stretchy, mild
Mozzarella: stretchy, melty, fresh
Jarlsberg (or other Swiss style cheeses): these melt into beautiful, stretchy strands but don’t dissolve into the sauce as well as I was hoping. Layering them in between layers of the sauce-y noodles would be a good way to incorporate the cheese pull and Swiss flavor.
For breadcrumb topping:
Parmesan
Parmigiano Reggiano
Romano
Asiago
Grana Padano
3. Shred Your Own Cheese
Absolutely do not, under any circumstances, use pre-shredded cheese from the bag. The shreds are coated in a powder that dries them and prevents them from sticking to each other, which also prevents them from melting and dissolving into the sauce. (One exception would be if you’re just using that cheese for the topping or layering.)
Avoid a gloppy mess by shredding your own cheese. I like to get my cheese shreds small so that the cheese melts faster, meaning I don’t have to overheat the béchamel (see below). It also means I don’t have to over-stir the cheese sauce, which can cause the sauce to split.
4. Don’t Count out Velveeta!
Listen, no one is above Velveeta. American cheese, like Kraft singles, gets a bad rap because it’s ubiquitous — and not super interesting. However, it has a secret weapon that makes it a boon to all cheese sauces (nacho, fondue, etc.) not just the mornay sauce of mac ‘n’ cheese. “Sodium citrate is an extremely common emulsifying salt that is used to keep the cheese creamy as it melts,” J. Kenji López-Alt writes in Serious Eats. You can learn more about the actual molecular science in this article.


If you’ve ever had mac ‘n’ cheese that’s oily or gritty, it was probably split. I talk more about why that happens in other tips, but the great thing about sodium citrate is it prevents splitting — a.k.a. keeps things emulsified (creamy). Of course, you can buy sodium citrate from many online retailers in this day and age, making it easy to turn almost any cheese into a smooth sauce, but I know many people don’t want to order a special ingredient online that they’ll rarely use and will collect dust in their pantry. The great thing is, Velveeta and other American cheeses already contain sodium citrate (as well as other emulsifying ingredients) so even dropping in a Kraft single or two, will help keep your sauce emulsified — without bringing a noticeable flavor.
5. Watch Your Temper(ature)
When I was developing my ultimate mac ‘n’ cheese recipe, I spent test after test kicking myself wondering why my cheese sauce kept splitting. Almost every time, it was because of temperature. Your béchamel doesn’t need to be ripping hot to melt cheese, especially if you are using the right kind of cheese and its in small enough pieces. I have found the happy temperature zone for the béchamel, before the cheese is added, is about 150°F. Any cooler and you’ll be standing over the pot waiting for the cheese to melt forever and you might just end up over-working it, causing it to split. Any hotter and the oils from the cheese will be expelled, leading the emulsion to break and turning your thick, luscious sauce into soup.
This also means being patient. If you’re cooking in a Dutch oven, the residual heat from the cast iron will probably be enough to melt the cheese, so just give it time. I usually add the cheese off the stove, but if you need, stick it over the still-hot burner to use up some of that heat. If that’s still enough, I turn the burner to the lowest it will go and stir for just a minute or two. And if your sauce still has some bits of visible cheese floating around, that’s okay! It will melt in the oven, or even better, turn into a gorgeous melty strand when a spoonful of hot mac is lifted out of the dish.


6. What if My Sauce Splits?
Okay, so somehow after following all these tips your sauce still broke and became curdled and grainy. I have been able to at the very least get sauces to thicken back up using an immersion blender (don’t use a regular blender unless it has a vent on top.) I could still detect some graininess in the sauce, but you could try it in a pinch.
Bonus: Layer in Cheese
And that’s why I tuck a layer of cheese shreds, usually gruyère or muenster (the ultimate stretching cheese) to add a little bit of texture and flavor interest and to achieve the aforementioned gorgeous melty strands.


(Okay, it’s technically five cheeses)
Makes 6 servings
Ingredients
Breadcrumb topping
2 tablespoons unsalted butter
1/2 cup panko breadcrumbs
1/4 cup parmesan cheese finely grated (optional)
Salt
Mac and Cheese
½ pound cavatappi or other tubed pasta
3 tablespoons all-purpose flour (25 grams)
3 tablespoons unsalted butter (42 grams)
1 cup whole milk (227 milliliters)
1 cup heavy cream (227 milliliters)
1/4 teaspoon garlic powder
1/4 teaspoon ground mustard
1/4 teaspoon paprika
1/2 teaspoon kosher salt
1/2 teaspoon black pepper
4 ounces cheddar cheese, finely shredded (1 heaping cup)
4 ounces Velveeta or other American cheese, chopped into tablespoon-size pieces
4 ounces gruyère cheese, finely shredded (1 heaping cup)
4 ounces muenster cheese, shredded (about 1 cup, for layering)
Directions
Preheat the oven to 350°F and move one rack to the second highest position.
Make the breadcrumb topping. Heat the butter in the microwave just until melted. Pour over the bread crumbs and mix together with a fork until the crumbs are totally coated in butter. Mix in the parmesan and a hefty pinch of salt. Set aside.
Bring a pot of salted water to a boil and cook the pasta until just before al dente. Drain and set aside.
Make the roux. In a large saucepan or Dutch oven, melt the butter on medium-low heat, then dump in the flour. Continuously stir the butter and flour for a minute or so until the raw flour smell has faded and the roux has darkened in color.
Combine the milk, heavy cream, paprika, ground mustard, garlic powder, salt and pepper in a liquid measuring cup. Drizzle the liquid into the roux a little at a time, whisking to break up any lumps. Once the roux and the liquid are combined and starting to thicken, add more liquid. Repeat until all the liquid is added.
Keep stirring until the mixture is thick enough to coat the back of a wooden spoon. Do not let the mixture begin to bubble — remove from heat once it reads 150°F on an instant read thermometer. If the mixture is too hot, it will split when the cheese is added.
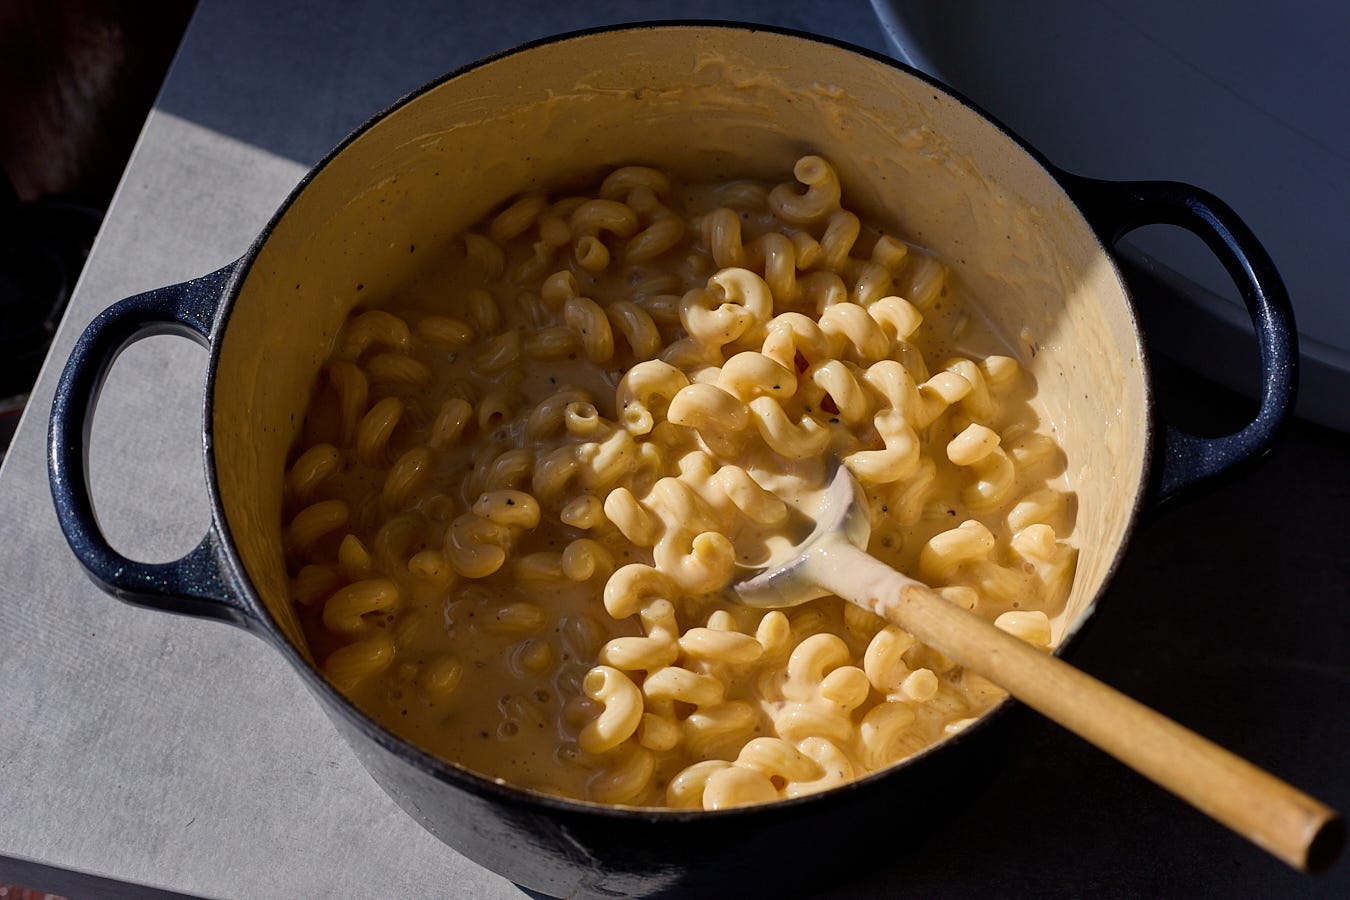
One handful at a time, add in the Velveeta, sharp cheddar, and gruyère, stirring in between each addition until combined. If the mixture’s temperature drops too much, you can return it to the stove on the still-hot burner or over the lowest heat (even on the smallest burner) to encourage more cheese to melt. (Again, overcooking the sauce at this point will cause it to split.) If some of the cheese strands are not totally dissolving, that’s okay. It’s better to have a few strands of unincorporated cheese in an emulsified sauce than a gritty, split soup.
Off the heat, add the pasta to the cheese sauce, and fold together. Then, fold in the shredded muenster just until evenly dispersed but not dissolved.
Pour the mac and cheese into a greased 9×9-inch tin or 2-quart baking dish. (Alternatively, if your sauce-pan is oven-safe and big enough, you can just bake the mac and cheese in that.) Level it off, and sprinkle on the breadcrumb topping.
Bake on the second highest rack from the top for around 20 minutes, or until the edges are bubbling and the top is turning golden brown.
Allow to cool for about 5 minutes before serving.

Anddddd I’m starving