

Buckeye Cookies
Introducing Cookie of the Month Club


If there’s one thing I know about the easygayoven subscriber base it’s that you all. love. cookies. Those recipes are consistently the ones you all like, subscribe for, and make — and in the survey I sent out a few months ago, you overwhelmingly said you wanted more. And I understand why! I try my best to create fun new twists on the form that are approachable but still impressive.
Because of that, I’m introducing a new monthly series, Cookie of the Month Club, where I’ll be concocting an inventive new cookie recipe every month — and as always, you all will be the first to know about them. To keep it fresh I’m going to organize the series into themed seasons. The season for the next few months: “United States of Cookies,” where I’m making cookies inspired by different U.S. states. Follow along to see if I develop one inspired by yours!


Those familiar with easygayoven lore will know that I spent the first 18 years of my life in Ohio, the “Buckeye State.” You probably know the word Buckeye as it relates to the mascot of The Ohio State University (I could lose my high school diploma if I don’t write it like that) — paying homage to Ohio’s native buckeye tree, which became the official state tree in 1953.


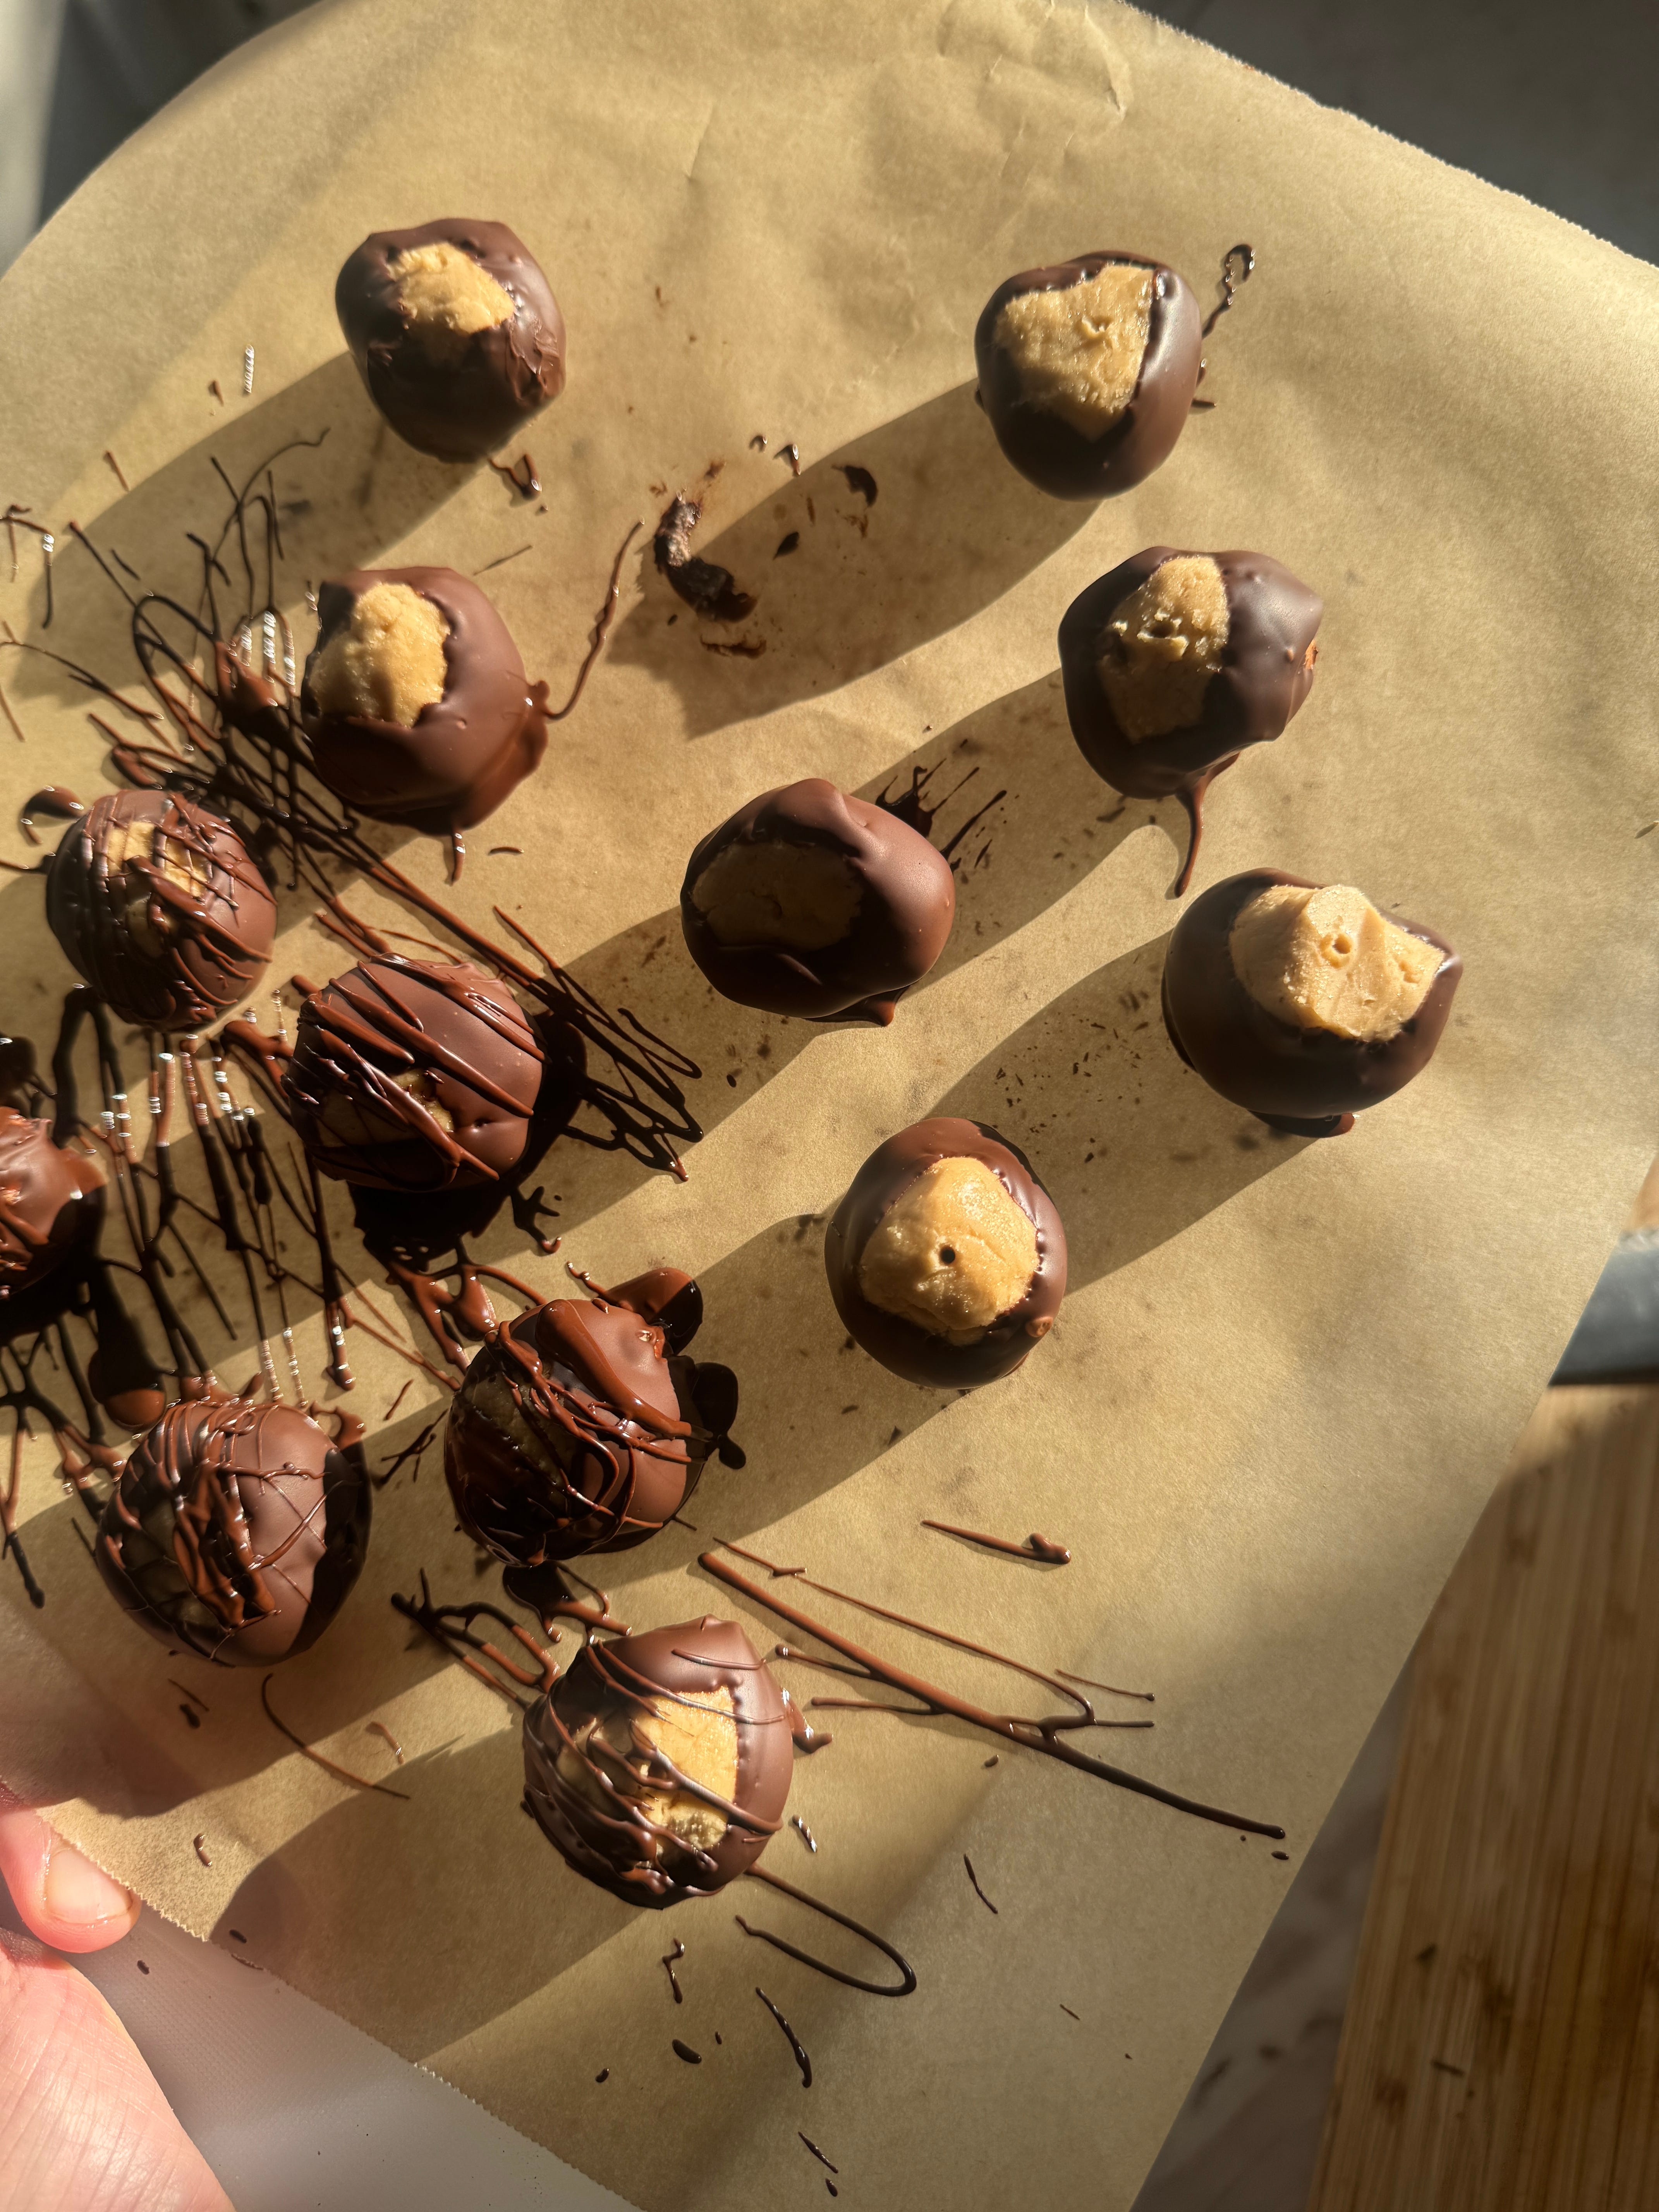
But the OSU mascot everyone knows, Brutus Buckeye, is actually modeled after the nut of the tree: dark brown on the outside with a revealed circle of tan. And if you’ve ever lived in Ohio, you’ve probably had the eponymous confection inspired by the nut: a fudge-like peanut butter center (almost completely) covered in chocolate. I actually made some with the leftover filling from testing. Don’t look too close.
Similar to their namesake, these cookies will have centers of peanut butter filling encased in a rich, chewy chocolate cookie. I’ve actually decided to give you two different ways to make the filling: traditional and alternative. The traditional version resembles the way normal buckeye filling is made: peanut butter, powdered sugar and butter, just in a slightly different ratio so they spread better in the oven. This filling has a fudgier, sweeter, dense texture that holds its shape. The alternative uses peanut butter, butter and white chocolate to create a filling that is creamier, has more peanut flavor and is less sweet. I liked both for different reasons, but if you want the more nostalgic version, definitely go with the traditional. (See visual comparison above.)


Want more recipes like this?


Makes 16-18 cookies
Ingredients
Cookie dough
12 tablespoons salted butter, melted (170 grams)
1 cup dark brown sugar (210 grams)
1/4 cup granulated sugar (55 grams)
3/4 teaspoon baking soda
1/2 teaspoon baking powder
1/2 teaspoon Diamond Crystal kosher salt
1 large egg
1 teaspoon vanilla extract
1/2 cup Dutch-process cocoa powder (50 grams)
1 3/4 cups all-purpose flour (227 grams)
Peanut butter filling (traditional)
1 cup smooth peanut butter (270 grams)
8 tablespoons salted butter, at room temperature (113 grams)
1 cup powdered sugar (113 grams)
3/4 teaspoon Diamond Crystal kosher salt
Peanut butter filling (alternative)
1 cup smooth peanut butter (270 grams)
4 ounces white chocolate, chopped
4 tablespoons salted butter (56 grams)
Directions
Make the peanut butter filling. For the traditional filling: In a medium mixing bowl with a hand mixer, or in the bowl of a stand mixer, beat the peanut butter, butter, powdered sugar and salt until they form a very thick paste.
For the alternative filling: Heat the peanut butter, white chocolate, butter and a pinch of salt in the microwave for about 30 to 45 seconds, or until the butter is liquid and the chocolate is starting to melt. Stir until smooth, cover and refrigerate until firm.
Dole out as many 1-tablespoon portions of filling as you can, placing them on a parchment lined plate, trying your best to make them round. Freeze until firm.
Make the cookies. In a large mixing bowl, whisk together the melted warm butter, sugars, baking soda, baking powder and salt. Whisk in the vanilla, egg and cocoa powder until smooth.
Dump in the flour and fold together with the wet ingredients using a rubber spatula, stopping just when the last streaks of white disappear.
Dole out around 16 to 18 balls of dough, about 2 scant tablespoons each (I used my 1.5 ounce scoop but under-filled it.) If the dough is too slack, chill the dough, covered, for 15 minutes in the refrigerator.
Wrap a portion of peanut butter filling in each dough ball, forming the dough around the filling but leaving a half-inch or so of filling visible. Chill the dough balls, covered, for at least an hour.
Preheat oven to 350°F. Line two half-sheet trays with parchment paper. Chill the dough balls again, covered, for 15 minutes in the freezer or 30 minutes in the refrigerator.
Place 6 cookies on a tray and bake on the middle rack for 7 minutes, then rotate the tray and bake for 7 more minutes. Allow to cool on the sheet for 4 or 5 minutes then transfer to a wire rack to cool completely. Repeat with remaining dough balls.

Ok J'ADORE
Fellow buckeye here, yumm!!